
Recommended Audience: Anybody with an Infrastructure, networking, vSphere, and NSX -V background.
What to expect from this post: Prepping the NSX-T environment for configuring “workload management” in vSphere7 with Kubernetes.
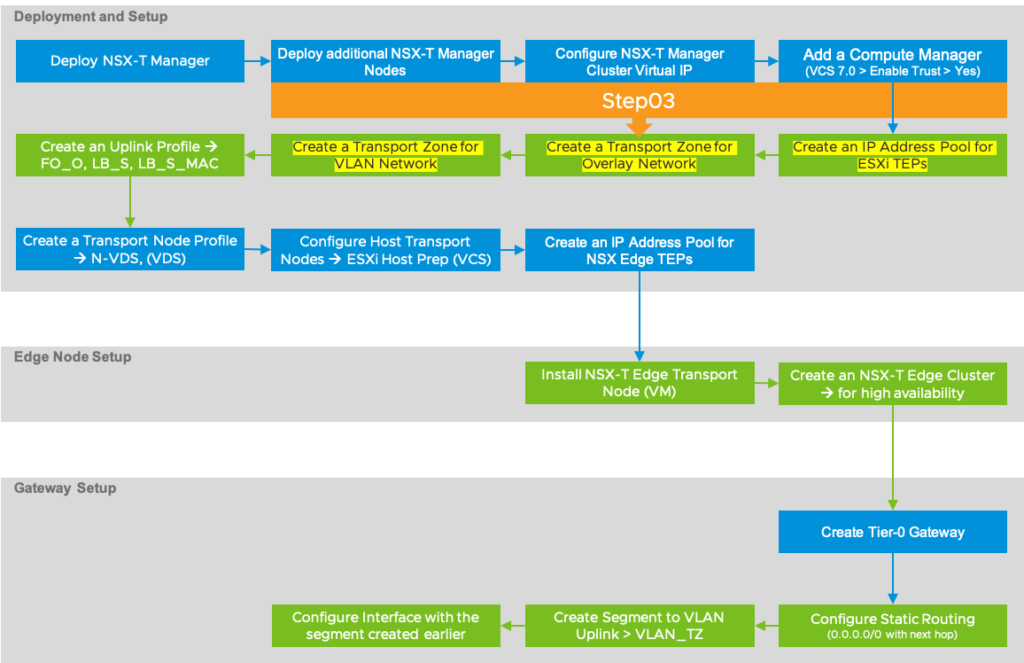
NSX-T Implementation Order > Create an IP Address Pool for ESXi TEPs > Create Transport Zones for Overlay and VLAN
Here are the high-level implementation steps that we’re going to follow to deploy and configure NSX-T Manager, so we can make it ready for configuring “Workload Management” on vSphere 7.0 to enable Tanzu Kubernetes Grid.
Create an IP Address Pool for ESXi TEPs:
IP Address Pools are used to assign IP addresses to tunnel endpoints (TEPs) on various Transport Nodes, including VMware ESXi, KVM or bare-metal hosts.
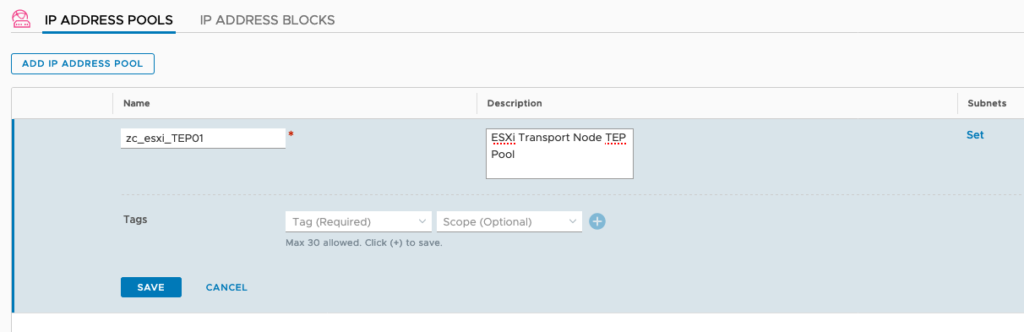
Click on Networking (top-menu) > click on IP Address Pools (left-menu) > click on “ADD IP ADDRESS POOL” > Provide a name, description > Click on Set under Subnets.
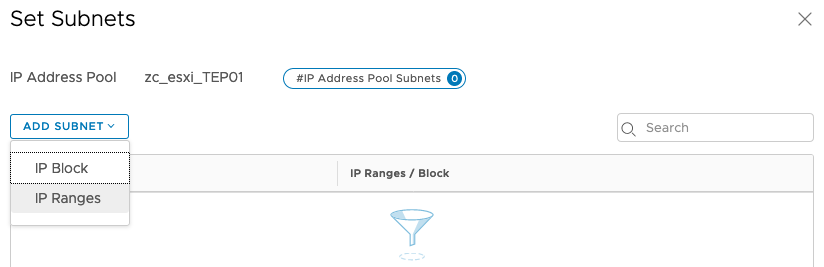
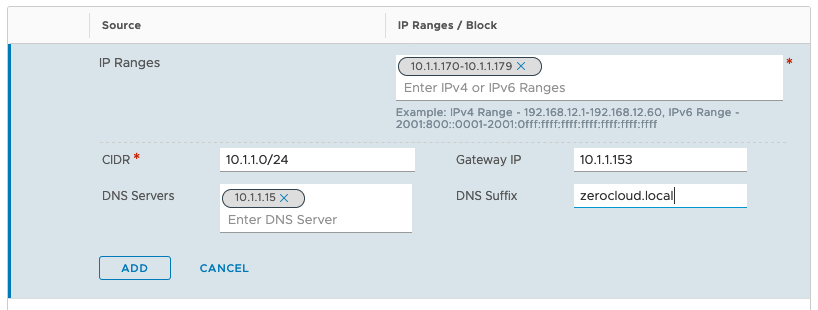
From the Add Subnet drop-down menu, select IP Ranges > Provide an IP Range, CIDR, Gateway IP, DNS Servers, and DNS Suffix, as outlined in the screenshot below and click Add and click Apply
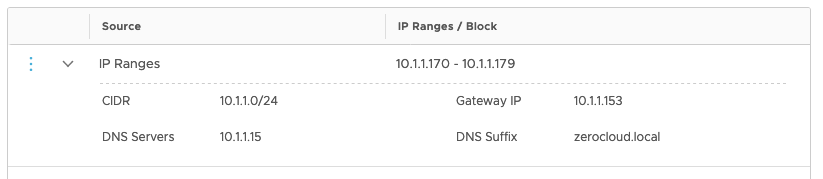

Click on Save and make sure that Status displays “Success”
Transport Zone:
Transport Zone is a collection of various transport nodes such as VMware ESXi, KVM, and bare-metal hosts that can communicate with each other across a physical infrastructure over the TEP defined above. It can span across multiple vSphere clusters, especially when used with the ESXi hosts.
Create a Transport Zone for the Overlay Network:
As outlined in the NSX-T Architecture post, the Overlay network is an internal tunnel that uses Geneve for encapsulating the traffic (unlike VXLAN in NSX-V) across the various transport nodes that participate in the zone.
Click on System (top-menu) > expand Fabric (left-menu) > click on Transport Zones (left-menu) > add a new transport zone by clicking on “+ADD” button > provide a name, select Overlay under Traffic Type and click ADD as shown in the screenshot below.

Create a Transport Zone for the VLAN Network:
As outlined in the NSX-T Architecture post, it is normally used at the network uplinks of all the NSX Edge transport nodes for all the North-South traffic that’s normally carried over 802.1Q tags.
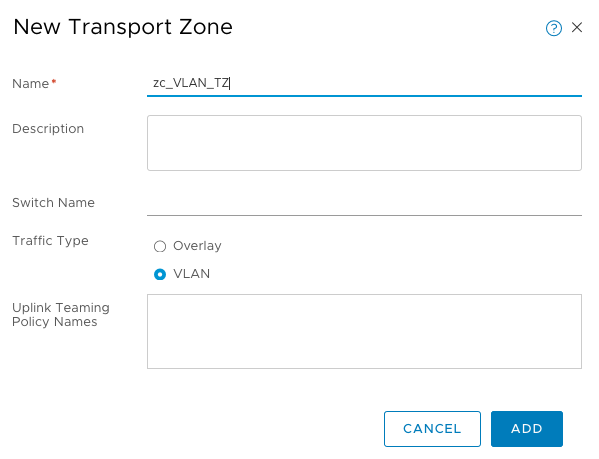
Click on System (top-menu) > expand Fabric (left-menu) > click on Transport Zones (left-menu) > add a new transport zone by clicking on “+ADD” button > provide a name, select VLAN under Traffic Type and click ADD as shown in the screenshot below.
At this point, you’ll notice that they’re not being used anywhere, but that’s ok. Let’s get to the next step04.
